In this blog post, we will be deploying to our Cloud Umbraco Hosting service using WebDeploy from Azure DevOps.
To begin you will need to download the Web Publishing profile from our control panel (SolidCP).
- Head to SolidCP
- Click the Hosting Space Menu on the left-hand side of the control panel
- Then click Web Sites
- Find the website you would like to use Web Deploy with and then click on the name
- Click Web Publishing on the tabs found in the centre of the control panel
- Enter a password and click Enable (You can skip straight to point 7 if the service is already enabled)
- Download the profile by clicking on the Download Publishing Profile for this website button
- Open the download file in Notepad or Notepad++
Next, go to your project in Azure DevOps click on the Pipelines menu link and then on Create Pipeline.
On the next screen select where your repository is located, continue to the Configure step, find Starter pipeline in the list.
Replace everything in the editor with the example below:
Do not save the pipeline yet
Working from top to bottom, you must configure a few things before running the workflow.
The first change is on line 2, change main to the branch name which you would like to use to trigger the pipeline.

Next, you will need to create some variables, click on the Variables button in the top right:

In the window which opens click on the + (plus) button in the right, enter a name of SOLUTION_NAME and a value which is your solution name including the .sln extension.
You can now click on the Validate and save button.
Now you will need to create a Release pipeline, browse to the Releases menu item under the Pipelines menu.

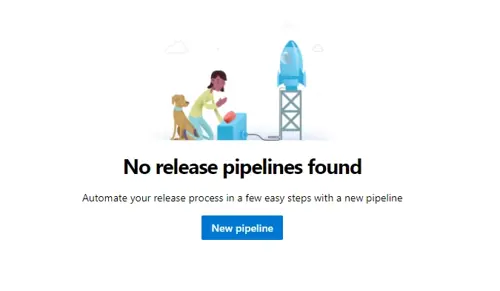
Once there you will be presented with a message saying No release pipelines found. Beneath that will be a button called New pipeline; click this to begin the process.

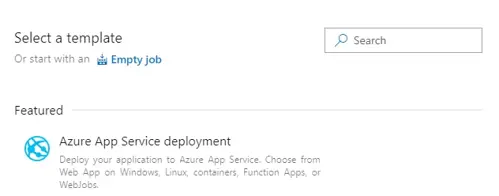
On the next screen select Empty job.

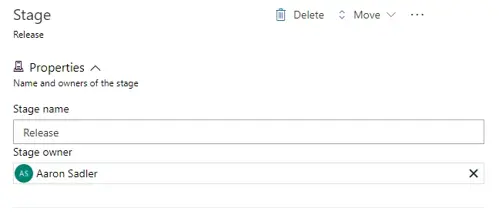
In the Stage name text box input your build environment type.
For the purposes of this walkthrough I have entered Release.

Now press the X on the right to close this blade.
Next, the artifact needs linking to the pipeline. To do this click on the Add an artifact button then on the blade which opens up, and select the building pipeline from within the Source (build pipeline) dropdown.
Typically the default values in the rest of the fields should be fine.
Finally, click the Add button to close the blade.
Next, you will need to install a task from the Marketplace to use Web Deploy in the same way as the file transforms task. Click the plus + and search for the following MSDeploy Package Sync. Once you have installed this into your Azure DevOps account add the task to the stage.
Browse to your package in the Web Deploy Package field.
Next, you can use the table below as a guide for the values, you can find the values for the Publish Profile Key in the previously downloaded Publish Profile file.:
| Publish Profile Key | MSDeploy Package Sync |
|---|---|
| publishUrl | Destination Computer |
| userName | Username |
| userPWD | Password |
You will need to enter the bellow line into the Additional Arguments field (replacing WEBSITE_NAME with the msdeploySite value from your Publish Profile):
-setParam:name="IIS Web Application Name",value="WEBSITE_NAME" -enableRule:AppOffline -enableRule:DoNotDeleteRule
You can now click the Create release button in the top right, sit back and watch the pipeline run.
The pipeline example used in this blog post is only a basic starter workflow, you can do so much more such as adding in your frontend build steps, making environment-specific settings and configurations and so much more.
Comments
Recent Posts


Categories


